Hello World on the Nintendo DS
The Nintendo DS is a portable console that I like a lot and that has been quite successful throughout its existence. I really like using it as a hobby, enjoying its entire library of games.
Over time, a curiosity arose about how to develop some homebrews for the NDS. I intend to share here on the blog my studies and my games exploring development in NDS.
In this first post we are going to create a simple Hello World and start to understand some features of NDS.
Hope you like it…
To compile the code we will use devkitpro which is also used for other Nintendo platforms. Its installation is very simple and on the devkitpro page it is possible to find the step-by-step for each OS. I will use VS Code to write the code, but nothing prevents you from using the editor of your choice.
From that point on, I will assume that devkitpro is already installed and that the nds-dev library has also been installed using devkitpro pacman.
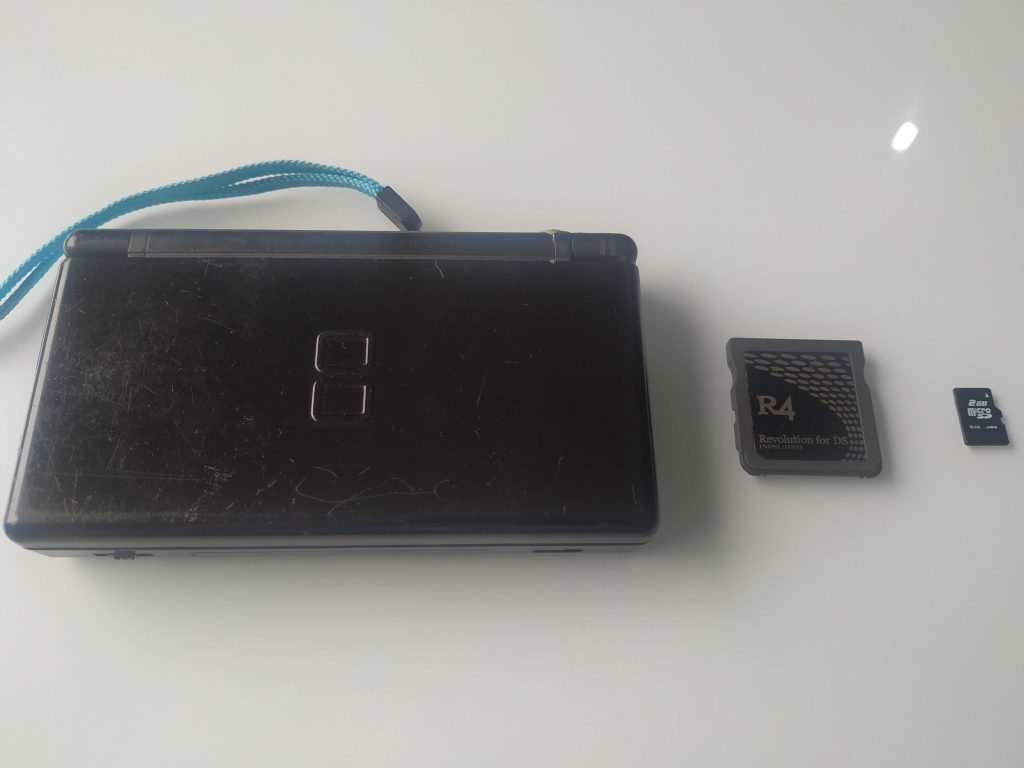
In the tests I use an old NDS Lite, but with an NDS emulator the result should be the same. Here is DeSmuME’s recommendation. To be able to add the .NDS executable to the Nintendo DS I will use a flash card with a 2GB card. There are several brands and models of flash card, choose the one that is most interesting for you. A simple Google search for Flash card Nintendo DS will yield several options.
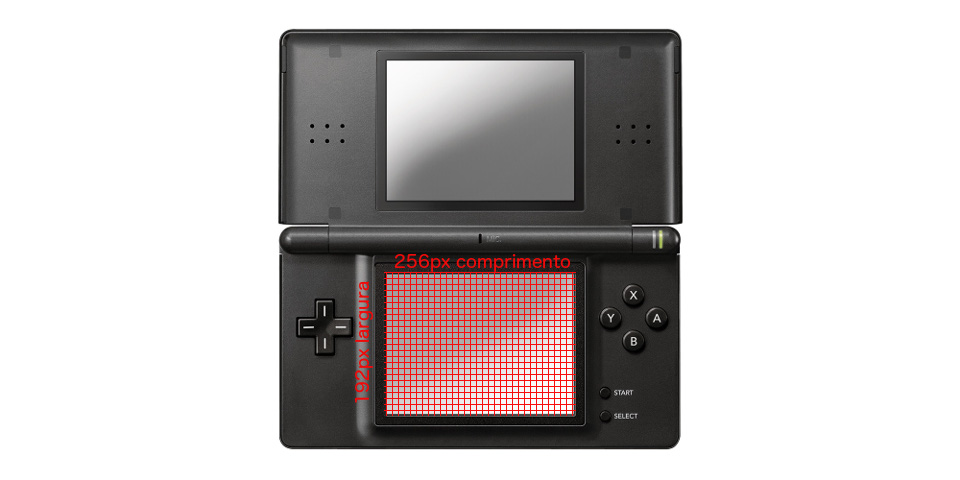
The NDS screen is 256 pixels long by 192 pixels wide, each character will occupy a square of 8×8 pixels. So we will have 32 columns (numbered 0 to 31) and 24 rows (numbered 0 to 23). Thus, the text “Hello World!” will occupy 12 columns and 1 row.
In this example I’m using the hello_world template that is inside the examples folder, which is inside the folder where devkitpro was installed. I just made a few changes to the main.cpp file, as we can see below:
#include <nds.h> // Includes the nds library
#include <stdio.h> // Includes the C standard library

int main(void) {
	irqSet(IRQ_VBLANK, 0);

	// Initializes console functionality in the library
	// allowing the iprintf function to print a text
	consoleDemoInit();

	while(1) {
		// VBlank interrupt handler
		swiWaitForVBlank();

		// Displays the text HELLO WORLD! in the center of the screen
		// in column 12 and row 10
		iprintf("\x1b[12;10HHELLO WORLD!")
	}

	return 0;
}
As we can see the file is written in C/CPP. It is not complex at all and for the noteworthy points I have added comments for the moment.
Let’s understand just a little more how we display text on the Nintendo DS screen.
To display “Hello World!” we use the iprintf method, as I want to display the text in the center of the screen, I need to position the cursor at a certain point on it. The way I can position the cursor at a certain point is by using ANSI Escape sequences. The Cursor Position escape follows this structure Esc[Line;ColumnH as in the iprintf method we informed using hexadecimal, the structure looks like this: \x1b[Line;ColumnH.
Based on the screen size information and how much each character will occupy, we arrive at this configuration:
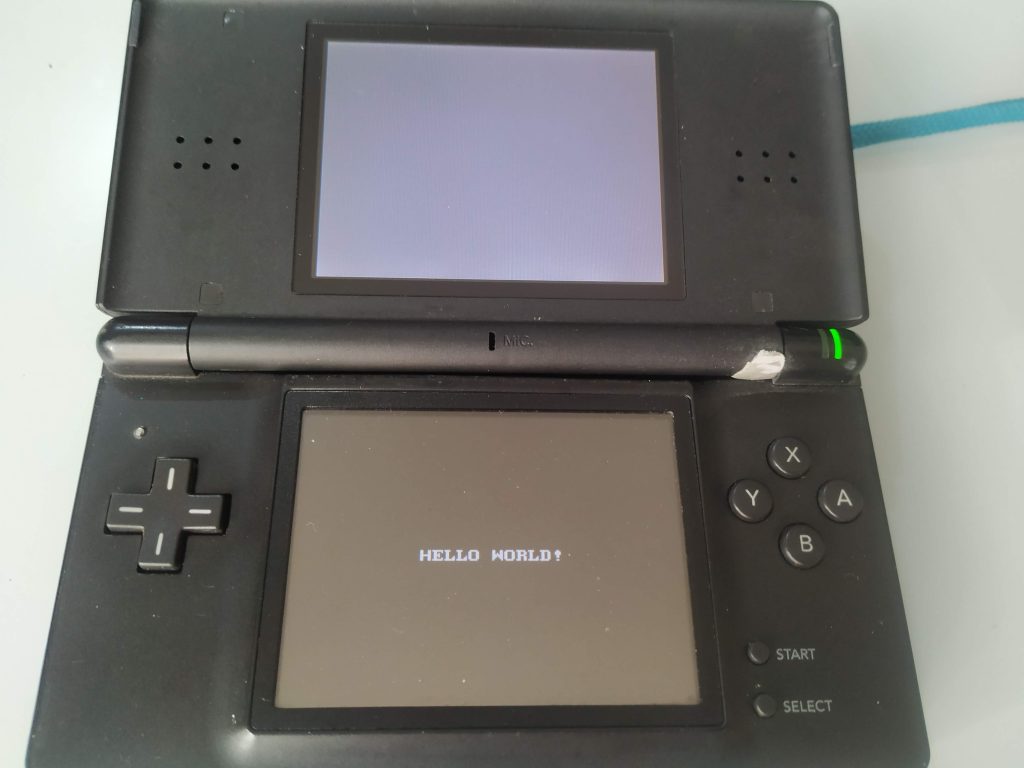
iprintf("\x1b[12;10HHELLO WORLD!");Then it was just compiling using devkitpro and we have the result:
This ends the first post on how to make a Hello World on the Nintendo DS.
Hug to everyone.